Step-by-Step Guide: How to Make Geode-Inspired Resin Coasters
Geode-inspired resin coasters add elegance to home décor. They replicate natural geodes with a glossy, layered finish. Creating them at home is simple with the right materials and steps.
These coasters are both functional and decorative, enhancing any interior. With basic supplies and a structured process, you can craft unique pieces that stand out.
This blog explores the complete process of making geode resin coasters, from gathering supplies to achieving a professional finish.
Geode Resin Art Materials You Need to Make Coasters
Before you start, you should ideally gather all the necessary geode resin art materials. This specifically ensures a smooth crafting process & helps in achieving a clean and professional finish.
Materials Required:
- Epoxy resin kit (this includes resin & hardener)
- Resin pigments or mica powders for colouring
- Silicone coaster moulds
- Silver, gold, or metallic flakes for giving an elegant touch to the coaster
- Crushed glass, glitter, or small crystals for gaining the desired texture
- Stirring sticks and mixing cups
- A mask and protective gloves
- Torch or heat gun to remove any bubble
- Sandpaper for gaining smooth edges
- Measuring scale that ensures accurate resin-to-hardener ratios
- Alcohol wipes which are used widely to clean moulds and tools.
- Resin sealant spray is required for enhancing the final glossy look.
You have the option to buy epoxy resin online from the most trusted online stores. Several brands offer epoxy resin art supplies in order to help the end users achieve the best results.
You ought to look for brands that provide food-safe and UV-resistant resin if you want long-lasting and durable coasters.
Step-by-Step Guide for Making Geode-Inspired Resin Coasters

This guide explains how to make geode-inspired resin coasters with clear steps. You will learn how to mix resin, layer colors, and add decorative elements like crystals and metallic flakes.
These coasters are easy for beginners to make and add a unique touch to any space.
Step 1: Prepare Your Workspace
Resin crafting can prove to be messy. You ought to protect your work place with parchment paper or plastic sheets.
You should always ensure the room where you are doing this work is always well-ventilated in order to avoid inhalation of the strong fumes.
You should also wear a mask for adequate safety. Also, have all your materials well-organized so that the process becomes efficient and seamless.
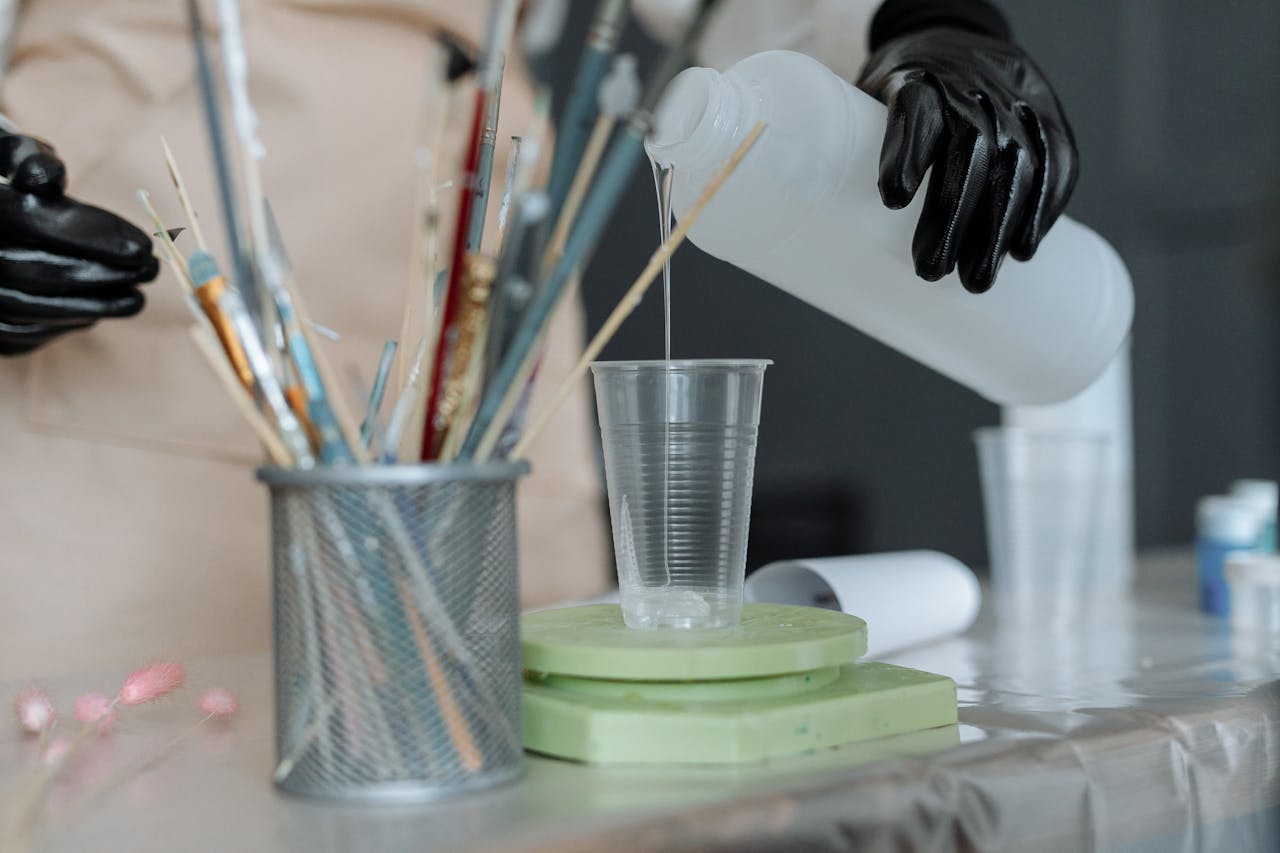
Step 2: Mix the Epoxy Resin
You ought to follow all the instructions that are mentioned in your epoxy resin kit for proper mixing.
When you opt to use the correct resin-to-hardener ratio, it is crucial for a successful outcome.
Mixing Steps:
- You ought to measure equal quantities of resin & hardener using a scale.
- Pour the same in a mixing cup & then stir slowly for around 3 to 5 minutes.
- You ought to ensure that the mix appears to be clear & free of streaks.
- Then you have to add your chosen pigments or mica powders for the purpose of coloring.
- Then stir the mixture gently to blend the colors well and evenly.
Slow mixing prevents the appearance of bubbles. If bubbles appear, then a heat gun can remove the same. You can also let the mixture sit for a few minutes before you finally pour to allow the air bubbles to rise & pop.
Step 3: Pour the First Resin Layer
Pour a thin layer of resin into the silicone mold. This forms the base of the coaster.
- Let the same settle for a few minutes.
- Then use a heat gun to pop the bubbles.
- Finally, allow the same to cure for a few hours before you opt to add more layers.
Always make sure to tap the mold very lightly to release the trapped air inside the same. This step is very essential for preventing any kind of unwanted bubbles from harming or ruining your design,
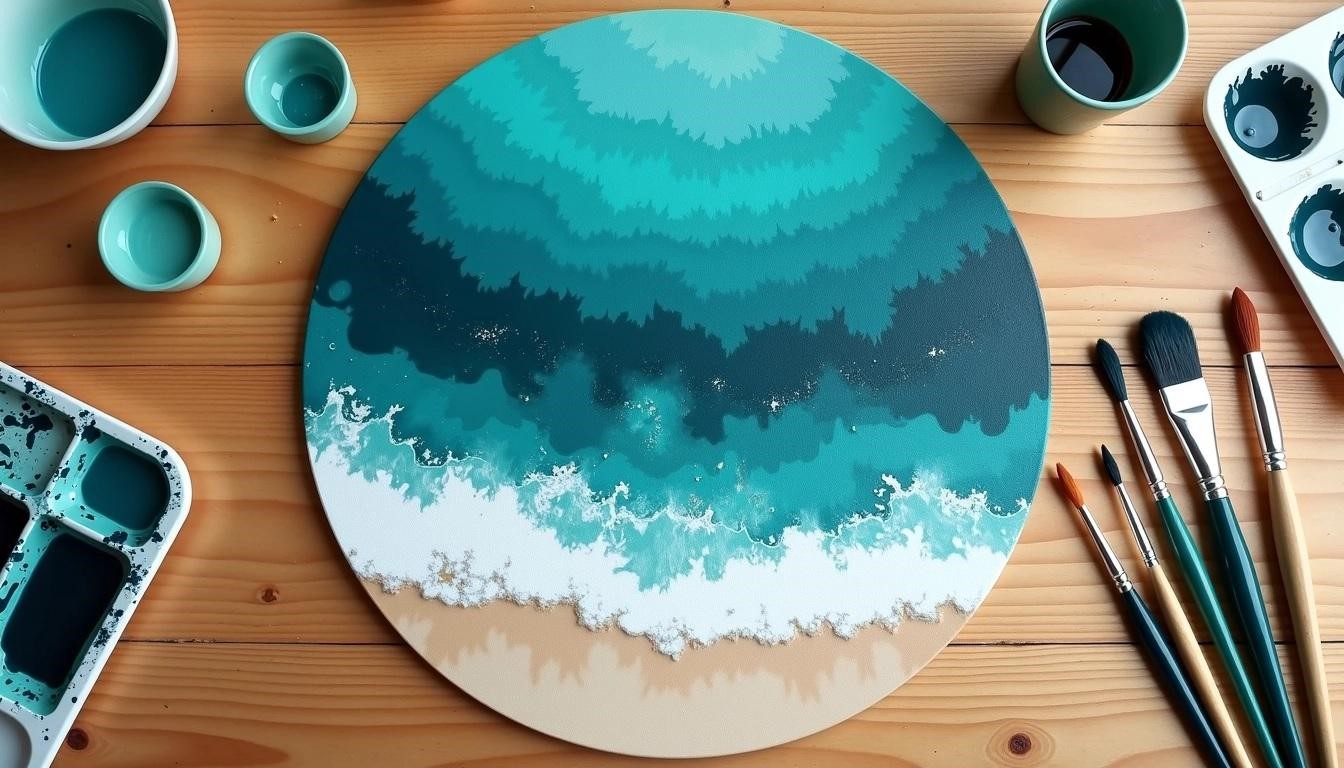
Step 4: Create the Geode Effect
In order to receive a realistic geode look, you ought to layer various resin colors. You can use the following:
- Darker shades for the center
- Lighter shades towards the edges
- Glitter or metallic flakes for highlights
You should bear in mind to pour every layer carefully and let the same settle before you add another.
The process of layering provides depth to your geode resin art materials.
You ought to experiment with the various pouring techniques, like as swirling colors together for a more natural and vivid geode effect.
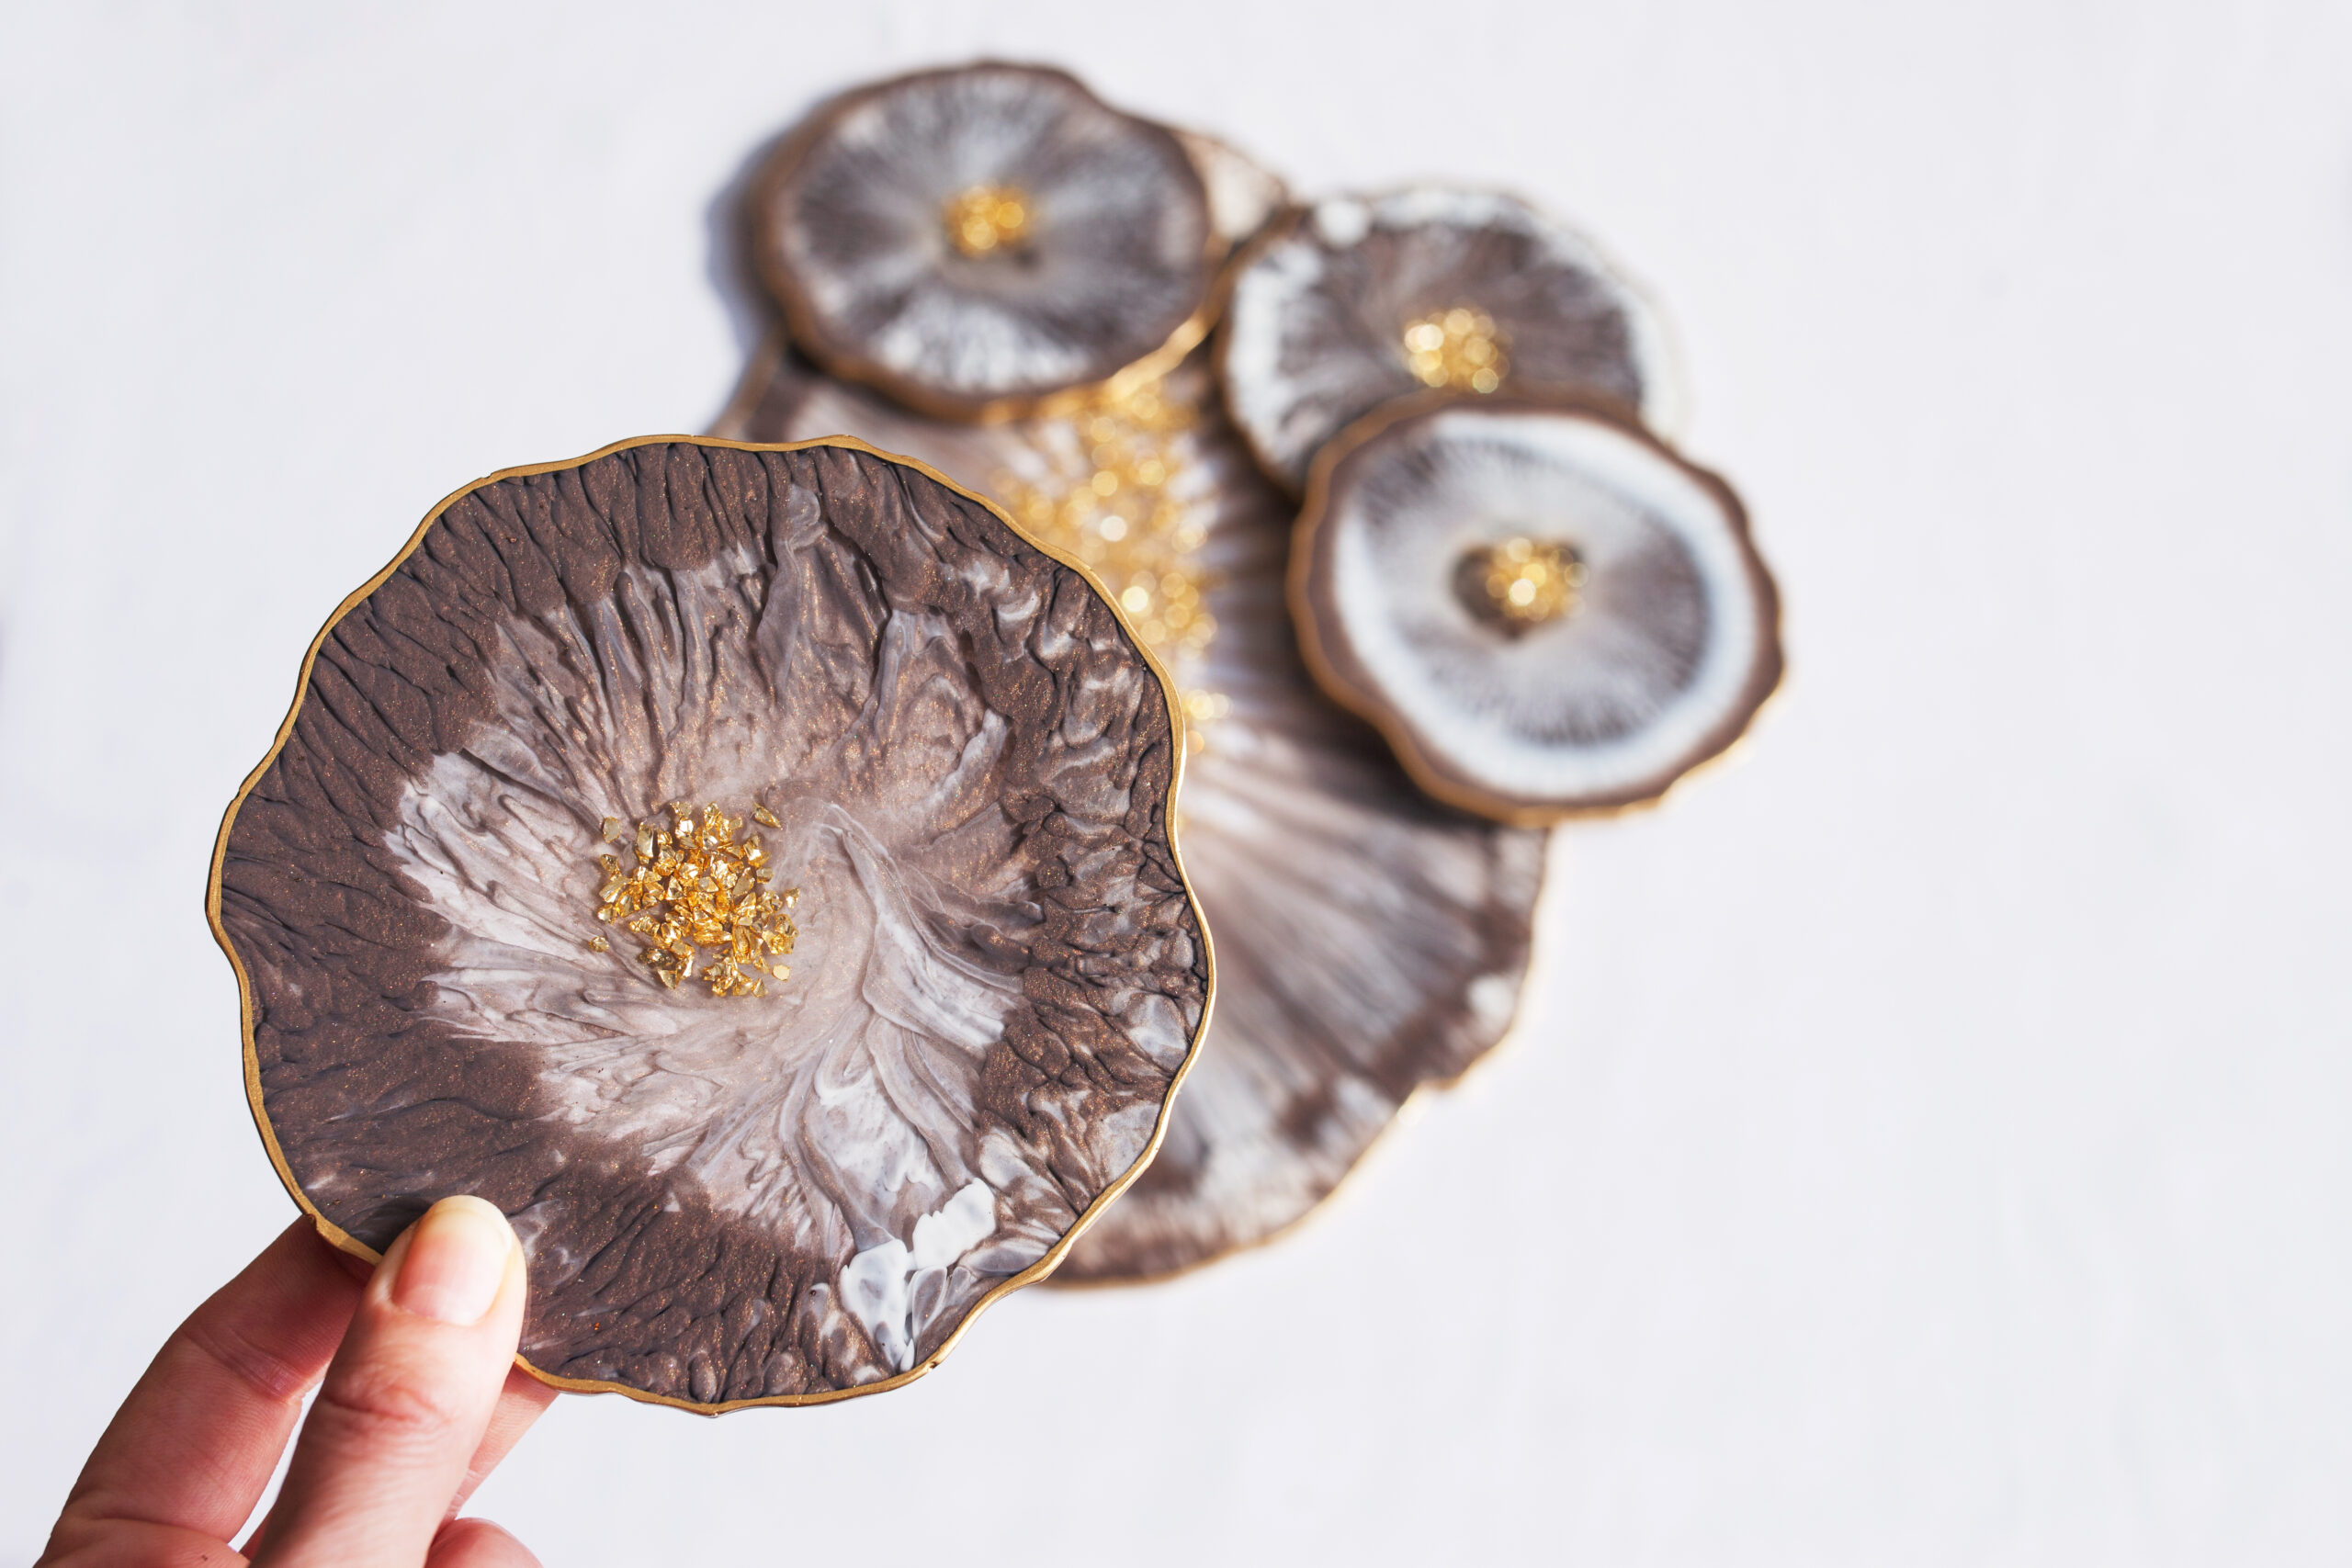
Step 5: Add Crystals & Decorative Elements
Sprinkle small crystals, crushed glass, or gold flakes into the resin. All of these elements largely enhance the visible geode effect & give a luxurious appearance.
- Place crystals near the center for a focal point.
- Use metallic flakes to create natural-looking veins.
- Add a few drops of a contrasting color for getting dimension.
- Gently press the larger decorative elements in order to ensure they are submerged but are still visible.
Once you conduct all the above steps, you should leave it undisturbed for a few hours before the next step.
This specifically ensures that every decorative layer stays in place & does not shift when adding more resin.
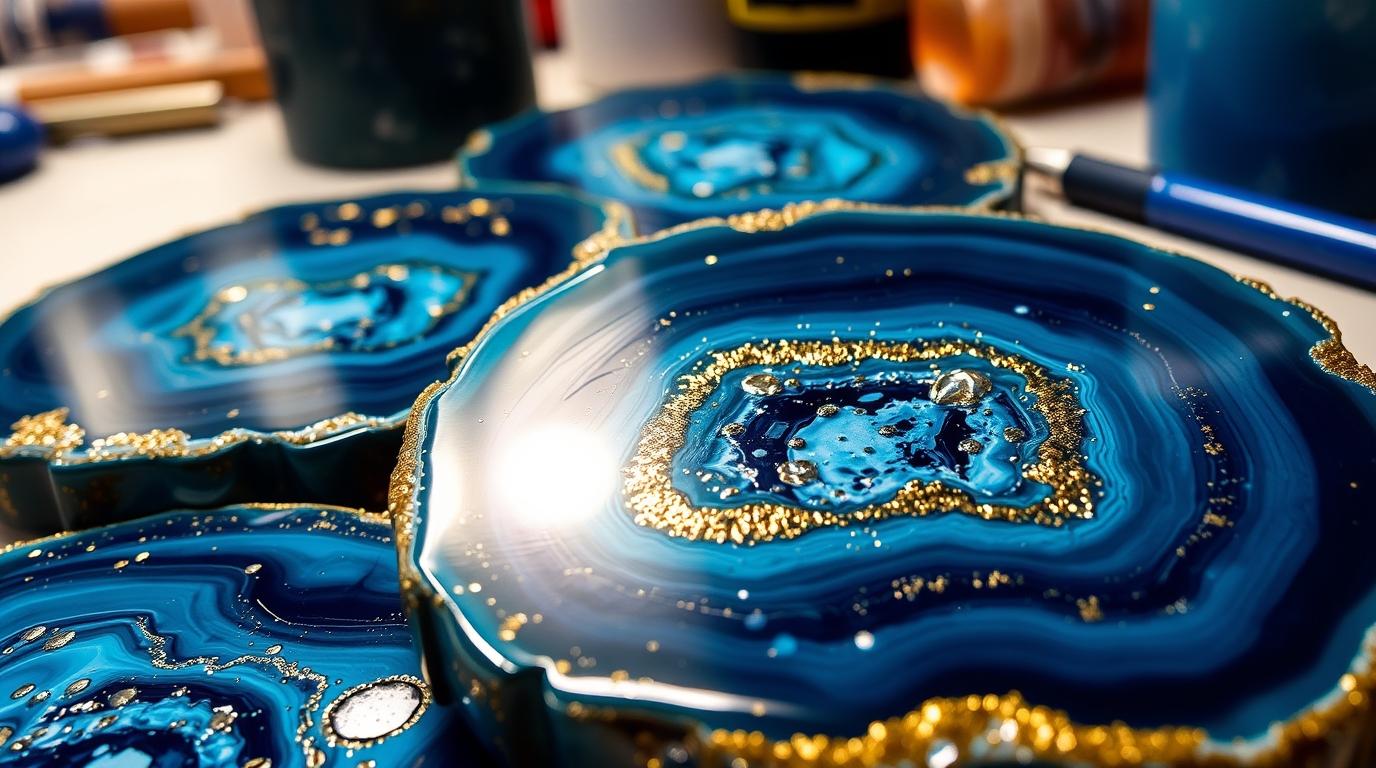
Step 6: Final Resin Layer & Complete Curing
Once the previous layers are set, you should pour a final clear layer of resin. This specifically seals all the decorative elements & provides a glossy and smooth finish.
- You should make it a point to pour slowly to avoid the trapping of any air bubbles.
- Use an effective heat gun to remove all air bubbles.
- Allow the coasters to cure for 24-48 hours in a dust-free area.
For achieving best results, you ought to cover the curing coasters with a box in order to prevent dust particles from settling on the surface of the coasters.
Proper curing time always ensures that coasters harden completely & become the most durable ones.
Step 7: Demold & Finish
After the full curing is done, you should gently remove the coasters from the molds.
- In case the edges are rough, you can sand them with a fine sandpaper.
- Use silver or gold paint to outline the edges for achieving a polished look.
- Wipe the coasters with a clean cloth in order to remove unwanted dust.
- Apply a resin sealant spray for providing extra protection & shine.
Where Should You Purchase High-Quality Resin Supplies?
For fetching the best results, you ought to invest in the most premium epoxy resin art supplies. You can buy epoxy resin online from trusted suppliers like ours.
We at Vajra Epoxy offer resin of highest quality for glossy and durable finishes. While purchasing resin, you should necessarily ensure that it has low level of VOC & is non-toxic.
Tips for a Professional Finish
You should keep the below tips in mind for bringing in a professional finish in your epoxy art:
- Work in a warm environment to avoid thickening of resin.
- Let every layer cure properly before you add the next layer.
- Experiment with various combinations of color to receive the most unique designs.
- You should avoid touching the resin while the same cures to prevent fingerprints.
- Store leftover resin properly by sealing containers very tightly.
Common Mistakes to Avoid
The common mistakes that you should avoid are as follows:
- Not measuring resin accurately – Incorrect ratios can likely lead to brittle or sticky finish.
- Overmixing the resin – This can end up introducing too many bubbles.
- Skipping the heat gun step – Bubbles will remain in case they are not removed.
- Pouring resin very quickly – This can cause an overflow as well as uneven curing.
- Not allowing enough time to cure – If you rush the process, it may result in tacky or soft coasters.
Conclusion
Creating geode-inspired resin coasters is a simple and enjoyable process. With the right geode resin art materials, you can design unique, high-quality coasters that enhance any space. These coasters are perfect for personal use or as gifts.
By following the steps outlined in this guide, you can achieve a smooth, professional finish. Using epoxy resin art supplies of the highest quality ensures durability and a glossy look.
Vajra Epoxy provides premium materials to help you create long-lasting designs. Start your project today, experiment with different designs, and improve your technique with regular practice.
References