Magnificent Resin Geode Coasters: A Beginner’s Guide
Hello there, resin fans! Are you ready to let out your inner artist and create gorgeous home décor pieces? Look no further than these fascinating resin geode coasters! These beauties are not only useful, but they also offer a touch of natural beauty to any setting.
This site is your one-stop shop for creating stunning resin geode coasters, even if you’re a total beginner. So gather your stuff, unleash your imagination, and let’s get started!
Step 1: Gather Your Materials:
- Vajra Geode Art Epoxy 2:1: Opt for Vajra Geode Art Epoxy2:1 for crystal-clear, optimal clarity and a beautiful geode effect.
- Alcohol Inks: Choose a vibrant colour palette to mimic the natural hues found in geodes.
- Silicone Moulds: Select coaster-shaped moulds with a smooth, glossy finish.
- Disposable Cups and Mixing Sticks: Ensure these are made of a material compatible with resin.
- Gloves: Safety first! Always wear proper PPE when working with resin.
- Optional: glass crystals, glitter, or mica powder for added sparkle.
Step 2: Preparing the Moulds:
- Apply a thin layer of mould release spray to the interior of your moulds. This helps prevent the resin from sticking and ensures easy removal after curing.
- While the mould release dries, prepare your workspace with newspaper or a disposable tablecloth to protect your surface.
Step 3: mixing time
- Follow the instructions provided with your specific Vajra Geode Art Epoxy 2:1. Mix the resin and hardener in the correct ratio using slow, steady strokes to minimize air bubbles.
- Once mixed, divide the resin into separate containers, depending on the number of colures you’ll be using.
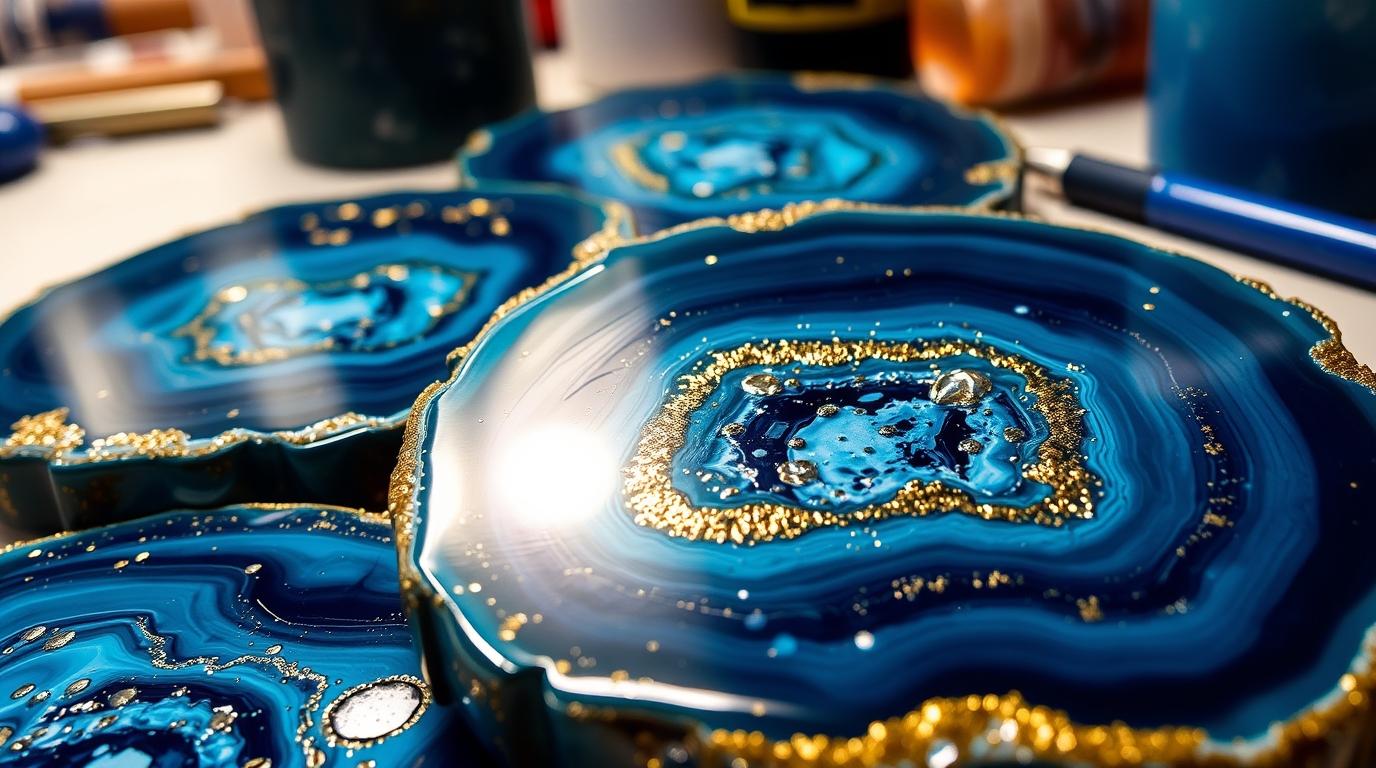
Step 4: Discover the artist in you
- Now comes the fun part! Drip and swirl your chosen alcohol inks into the separate resin containers. Experiment with different colour combinations and techniques to create unique patterns that resemble the natural formations of geodes.
- You can also add a touch of crushed coloured glass, glitter, or mica powder for an extra layer of visual interest.
Step 5: Pouring and Curing:
- Slowly pour the coloured resin mixtures into your prepared moulds, allowing each colour to flow organically and create interesting patterns.
- Once the moulds are filled, use a toothpick or lighter (with caution!) to gently pop any air bubbles that may have formed on the surface.
- Cover your moulds loosely with plastic wrap to prevent dust and debris from settling while the resin cures completely. Refer to the curing time specified on your Vajra Geode Art Epoxy 2:1 product.
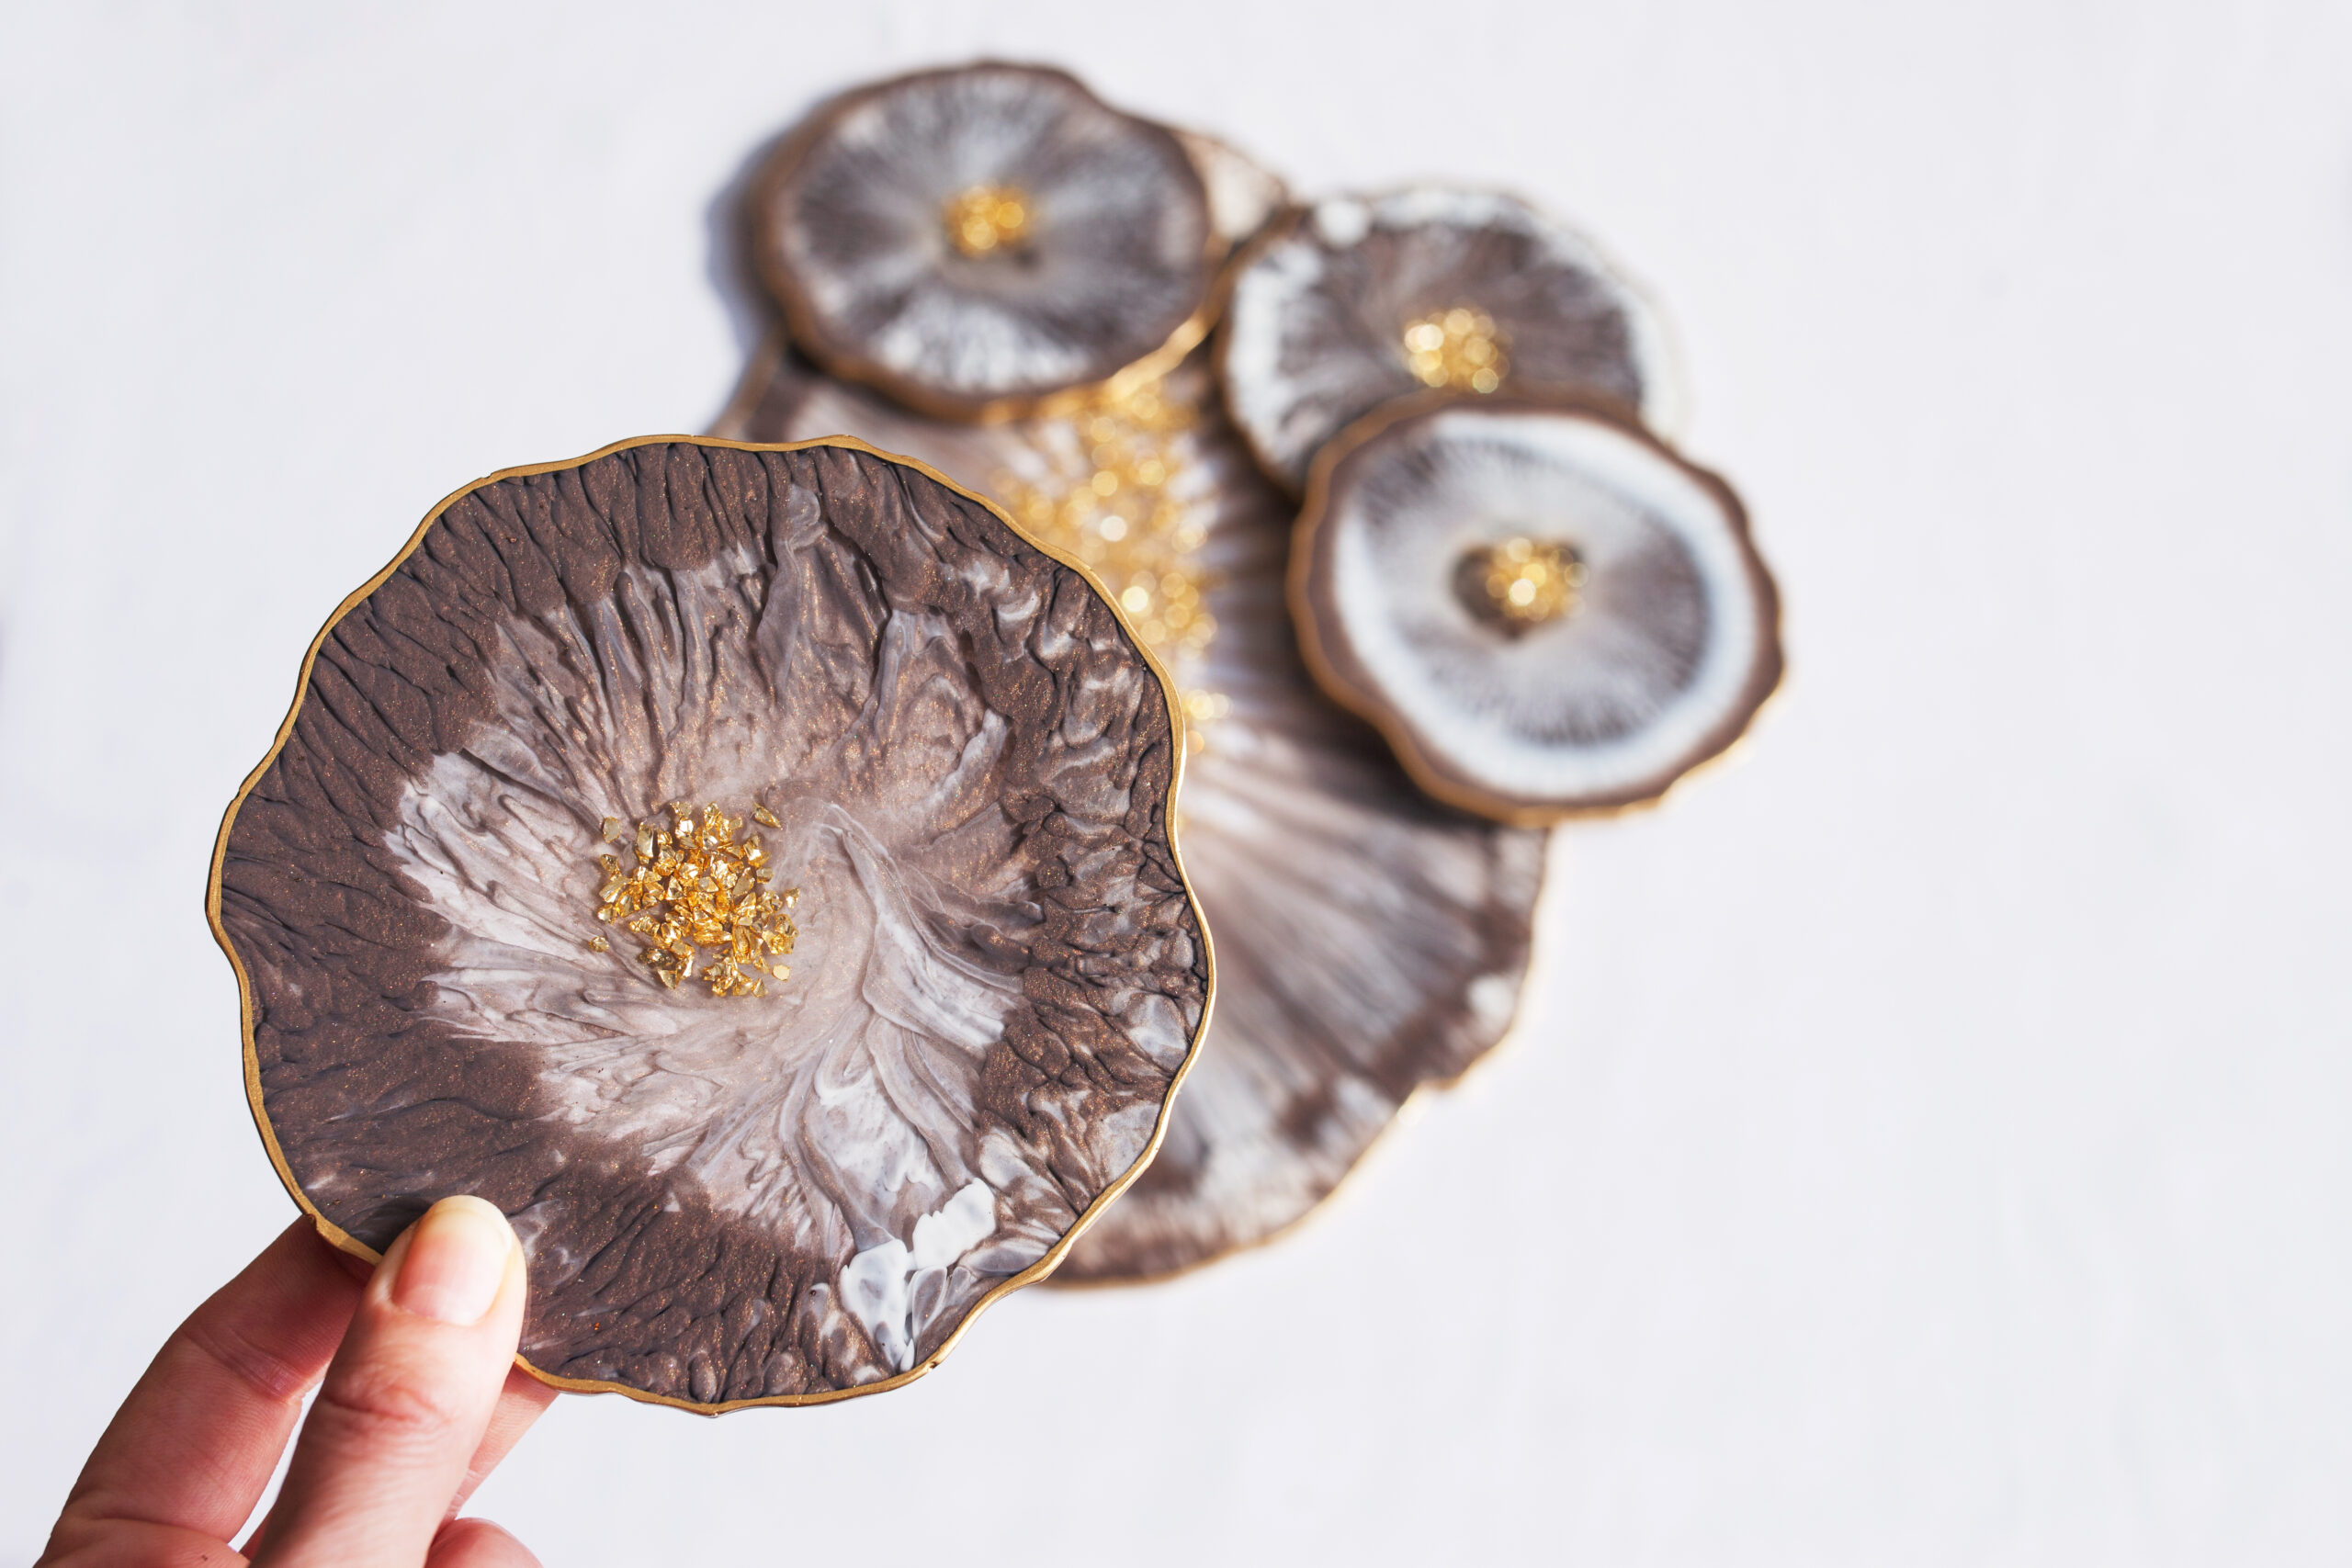
Step 6: Demoulding and Final Touches:
- Once the curing time is complete, gently remove your coasters from the moulds.
- If needed, you can sand the edges of your coasters with fine-grit sandpaper for a smooth finish.
- Polish the coasters with a soft cloth to enhance their shine and reveal their incredible geode-like beauty.
Section 7: display your masterpiece Now, proudly display your handcrafted resin geode coasters and admire the stunning artwork you’ve created. They make the perfect addition to your own home decor or a thoughtful a