How to Mix Resin and Hardener – A Beginner’s Guide

Kickstarting your resin art is certainly an exciting journey that allows you to create stunning and durable pieces. However, to achieve flawless results, you must mix epoxy resin and hardener.
Following incorrect proportions or mixing techniques can only lead to major issues like trapped bubbles, sticky surfaces, improper curing, and more. Too much indulgence in resin and hardener kits can end up creating weak surface layers.
Keep reading as we provide simple valuable steps involved in mixing epoxy resin and hardener at the right ratio.
Essential Materials & Setup
Before you begin with your resin art, make sure to gather the below-mentioned tools in the first place:
- Resin and Hardener Kit: Pick a high-quality kit that suits your project needs. Ensure the kit offers a wide range of epoxy resins customized to various applications.
- Mixing Cups: Make use of clear and graduated cups for proper and accurate measurements.
- Stir Sticks: Silicone or wooden sticks are ideal choices for mixing.
- Gloves: Ensure to protect your hands using disposable gloves.
- Scale: Make use of a digital scale to yield precise measurements, especially when mixing resin and hardener in terms of weightage.
- Heat Gun or Torch: Both these products are vitally used to remove bubbles from forming in and around the mixed resin.
- Measuring Spoons: Widely used for adding additives or pigments.
Importance of Working in a Well-Maintained, Dust-Free Environment
Resin mixin does release fumes that can be certainly harmful to your overall health if inhaled. Make sure the entire workspace is properly ventilated to let these fumes pass through, without getting stagnant in one place.
Adding to this, maintaining a dust-free working environment further prevents any kind of contamination from affecting the resin’s clarity and curing process.
Ideal Temperature and Humidity Conditions to Achieve Better Mixing Results
Resin does cure best at temperatures between 70°F and 75°F (21°C to 24°C). The workspace humidity level must be below 50% to prevent moisture formation that can potentially interfere with the curing process.
High humidity areas can lead to possible surface imperfections and prolong the curing times.
Step-by-Step Guide to Mixing Resin and Hardener
Step 1: Measure Accurately
Make sure to follow the mix ratio as recommended by the manufacturer, which is typically 2:1 or 1:1 (resin to hardener).
Use a digital weighing scale or measuring cups to ensure proper proportions are weighed before mixing them together.
For example, if the ratio is said to be 2:1, then mix two parts of resin to one part of hardener.
Step 2: Mix Properly
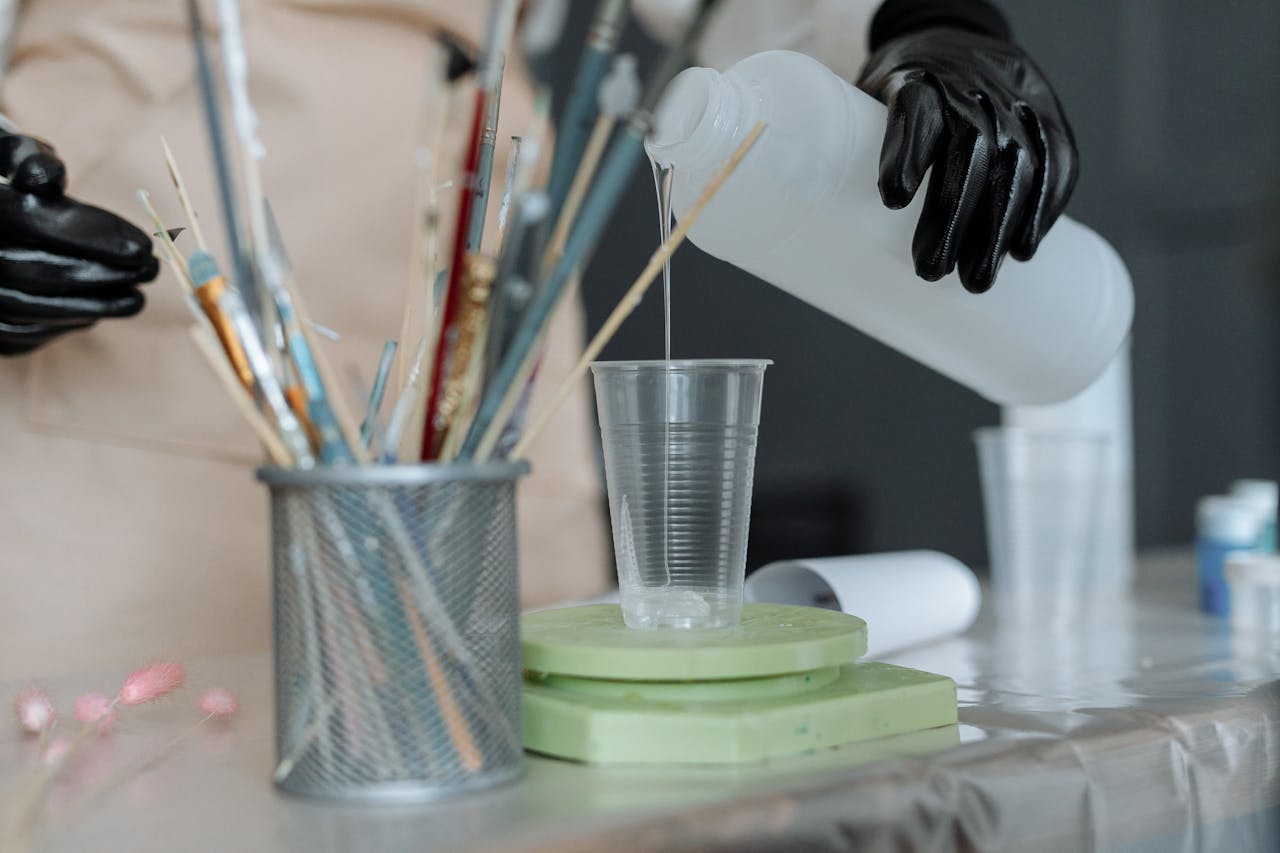
The measured resin and hardener must be poured into a clean mixing cup. Stir them slowly and thoroughly for three to five minutes, scraping the bottom and side parts of the cup to achieve complete blending. Vigorously stirring them can end up forming bubbles.
Step 3: Let It Sit
After completing the mixing process, let the resin sit for about one to two minutes. During this resting period, air bubbles do rise to the surface, reducing the formation of bubbles.
Step 4: Pour and Work Quickly
You must be mindful of the resin’s pot life. This denotes the time frame involved until the mixing remains workable. Pour the resin all over the project surface as per your need to ensure proper curing.
Common Mistakes and How to Avoid Them
Epoxy resin does come in two parts, namely a resin and a hardener. By mixing these two parts according to the said directions, a chemical reaction occurs further causing the liquid mixture to cure into a solid.
Certain common mistakes may occur when the chemical reaction gets disrupted or when best mixing practices are not followed in the first place.
Below-mentioned points will enlighten you on the things that you must be aware of and follow to achieve perfect mixing results.
- Incorrect Ratio: Mixing resin and hardener in the wrong proportions can result in sticky or soft resin. Always follow the ratio as specified by the manufacturer in the resin and hardener kit.
- Over Mixing: Inappropriate mixing and stirring them vigorously can introduce excessive bubbles. Make sure to mix them slowly and steadily to minimize bubble formation.
- Pouring Too Thick: Thick layers of resin applied on a surface can lead to cracking and overheating. Make sure to pour them into thin layers to achieve proper curing.
- Not Mixing Enough: Insufficiently mixed resin and hardener can lead to uncured spots. Thorough blending is a must to achieve a proper and uniform mixture.
Pro Tips for Perfect Results
- Using a Heat Gun or Torch: Gently pass heat through a heat gun or torch over the resin surface to eliminate bubbles. You must be cautious while doing so, as this action can certainly lead to other possible issues.
- Working in Thin Layers: Pouring resin into multiple thin layers will let you have better control over them and even reduce the risk of overheating them. Thick layers can instantly overheat and further avoid yielding proper curing.
- Properly Storing Leftover Resin: You need to seal unused resin and hardener tightly and store them in a cool and dry place to enhance and maintain their shelf life. Storing the leftover resin in an unsealed manner can make them remain unusable.
- Refrain From Using Different Measuring Sources: Avoid using plastic drinking caps, lid caps, or kitchen utensils to measure resin. Following different measuring sources can lead to inaccurate measurements and failure to cure. Use the measuring tools as provided in the resin and hardener kit.
- Using Hard Plastic Containers for Easy Clean-Up: Make use of hard plastic containers to effectively mix resin and hardener. Such containers can be easily cleaned post the mixing process. For cleaning purposes, you can use alcohol and a cloth, or leave a pop-stick in the container, and remove them the following day to restore them.
- Achieving Better Room Temperature to Speed Up Curing Time: Adding more hardener than the required proportion can never speed up the curing process of your epoxy resin. You can try increasing the room temperature for such purposes. This way, you can influence the curing process and even speed up the cure time.
Mastering the art of rightly mixing resin and hardener plays a crucial role in creating aesthetic and durable resin art. Always remember that continuous practice and experimentation are the keys to mastering your resin art.
By following the mixing steps and pro-tips as discussed above you can certainly achieve high-end results.
For high-quality resin and hardener kits, you must consider exploring Vajra Epoxy’s offerings. Their products have been designed to meet the needs of both beginners and experienced resin artists.


